| Picture Pages let you create,
edit and remove Pages that can contain 3 columns and an unlimited number
of rows of pictures and
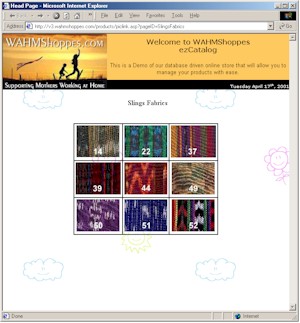
descriptions for each picture. Ideal For: An example may be that you have several fabrics available for your product. By creating a Picture Page to house the pictures of the fabrics your customers will have a more vivid idea as to the look of the fabric. Another use may be to show several different views of your product, such as Front, Sides, Back, and so forth. The Picture page will open in a new window so your customers never really leave the store. The top banner is the same page you made for your storetop.htm. The Background is the same as you assigned to your stores products page. |
 |
|
|
|
| The Picture Page option is
located under the "Miscellaneous heading in your stores admin
manager.
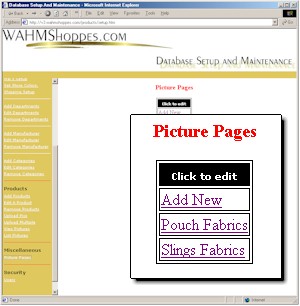
When you enter into the Picture Page Utility you will be presented with a listing of previously created Pages by Title. You will also see an option to allow adding a new page. Shown to the right is an example of the interface for the Picture Page utility. |
 |
|
|
|
| Creating a new Picture
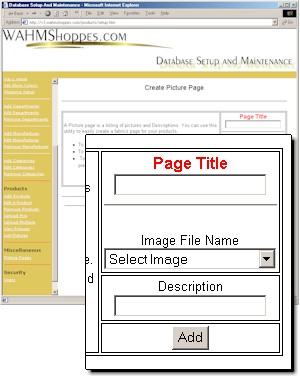
Page: Selecting "Add New" from the front-end interface will present you with an empty Picture Page template This empty template will require you to name your new page, select your first picture, and if you wish you can add a description of the picture. This documentation assumes that you have already created or obtained your picture files, and have uploaded them with one of the upload utilities. To create your first picture page Enter a descriptive title for your page something like "Sling Fabrics" into the "Page Title" box. Select your first Image from the Dropdown list box and if desired enter a description for the picture. Your description could be the actual fabrics code like 14, or any other descriptive information Description example: Press the add button to save your newly
created page. |
 |
|
|
|
| After saving your first
image you are now ready to populate your Picture page with the
required images.
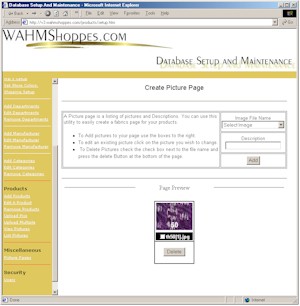
Your first image will now be visible to you, showing the picture itself, the description you entered as well as it's file name and a checkbox, the checkbox is used for deleting pictures and will be covered later in this documentation. |
 |
|
|
|
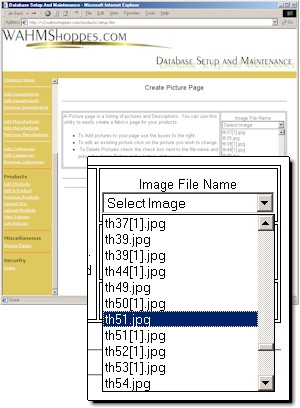
| Adding new Pictures to
your page is as easy as selecting the picture filename from the dropdown
list box and add a description if necessary.
As you add pictures they will list in the order entered and in three columns starting from the left to the right then down to the next row. |
 |
|
|
|
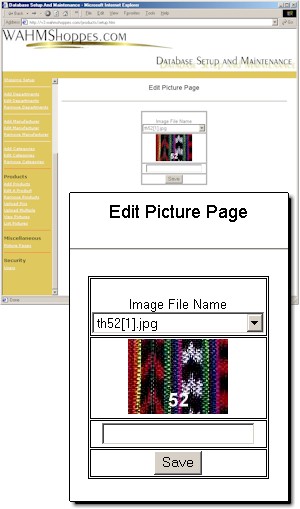
| Editing Existing Pictures:
To edit or change an existing picture or description click on the picture and it will take you to the "Edit Picture" page. editing a picture allows you to change the picture itself, change, or remove the description. To change the picture simply select a new picture file from the dropdown list box. |
 |
|
|
|
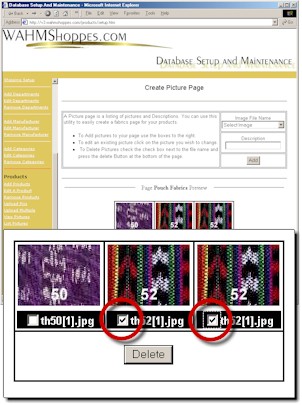
| Deleting Pictures from the
Page:
Deleting pictures from the picture page is simple and quick. Place a check in the checkbox below the picture and next to it's filename. You can select multiple pictures to delete at once. Click the "Delete" button and the selected pictures will be removed from the page. The remaining pictures will be rearranged to fill the gaps created by the deleted pictures. Note: Deleting Pictures from a picture page does not remove the file from your web, it only removes it from the existing page.
|
 |
|
|
|
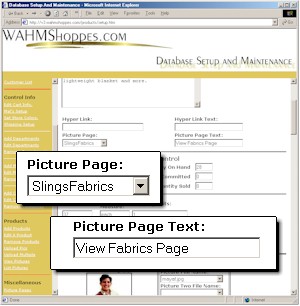
| How to use your new
Picture Pages:
Located in the Add and Edit product utilities, you will now see two new entries.
|
 |
|
|
|
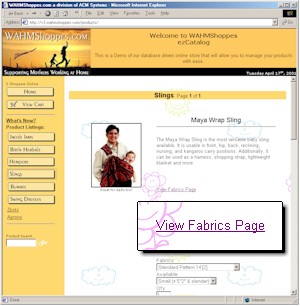 Magnified view of the link created by the Picture Page Text Box. |
|
|
|
|
